

Easy Homemade Nut Milk
There are many benefits to making easy homemade nut milk from scratch aside from pure deliciousness. While Almond Milk used to be considered a more “alternative” food and not very easy to find, it’s now the new thing. A bit of requested information first, and then your homemade recipe is below!
Dairy sensitivities as well as lactose intolerance are both very common. Just one of the many reasons easy homemade nut milk is an amazing option.
In my private practice here at Nutrition the Natural Way where I see tons of women clients regularly I am often asked what the difference is between the two. To clarify, a dairy sensitivity can be an immune reaction that is causing inflammatory problems anywhere in the body; and lactose intolerance is when the “sugar” part of the milk, the lactose, cannot be digested properly.
Various nut sensitivities are possible and definitely more common than you think!!
Most think that peanuts are typically the only problem though various other nut sensitivities occur as well. For example, sensitivities to the “healthy” ones – almonds, walnuts, pecans, hazelnuts, etc. All of these are “healthy” foods though can cause clinical problems.
We often do not think of food sensitivities as health problems though they cause an array of unexplained, inflammatory clinical symptoms such as IBS, Crohn’s, Ulcerative Colitis, Chronic Fatigue, Migraines, Seizures, ADD/ ADHD, Depression, Insomnia, Obesity, Dermatitis, and more. (Dr. Mark Pasula, Townsend Journal, January 2014)
Making this Easy Homemade Nut Milk is probably easier than you think!!
And the numerous benefits definitely outweigh the convenience of the store bought kind. I actually think it is less effort to make a batch at home than it is to make a trip to the health food store to purchase a boxed version. Homemade Nut Milk is also great whether you follow a paleo diet, Ketogenic Diet, low carb diet, modified Keto Diet; and even if you eat right for your Metabolic Type. So, regardless of your dietary beliefs, making Nut Milk at home will also contribute to the success of any “clean eating” nutrition plan.
When I work with my clients, one of the advantages is that the customized nutritional information that they receive is specific to their body type and metabolism. So for someone who is paleo, almonds might be a better choice and for others who may follow more of a Ketogenic Diet, Keto Nutrition or modified Keto Diet, Brazil nuts are going to be the preferred food choice.
That being said, if you’re reading this, your likely on your own journey to better health and wellness and, *just* choosing organic is a step in the right direction! From there, you can try to make a few different recipes and decide which is best for YOU!
Store bought brands…
Though organic, still contain ingredients like Carrageenan, Locust Bean Gum, Canola Oil and Rice Starch. You may also see “natural flavor” and other vitamins listed such as Riboflavin, Folic Acid, Vitamin A, Magnesium Phosphate, etc. While most of these vitamins are needed, you can get them naturally how nature intended vs. consuming a food that is enriched with the synthetic version.
FINALLY – for this Easy Homemade Nut Milk!!
It is creamy, flavorful and satisfying. And, aside from its amazing flavor, you typically have only 2-4 ingredients…. of which they are natural, meaning they’re provided by Mother Nature, and, I would bet that you might even have them in your fridge or pantry already!
…Stored properly in the refrigerator, the Nut Milk will keep for up to 5-7 days depending on what kind you’re making. Another bonus is that you can also control the size of the “batch” depending on you and your family’s needs.
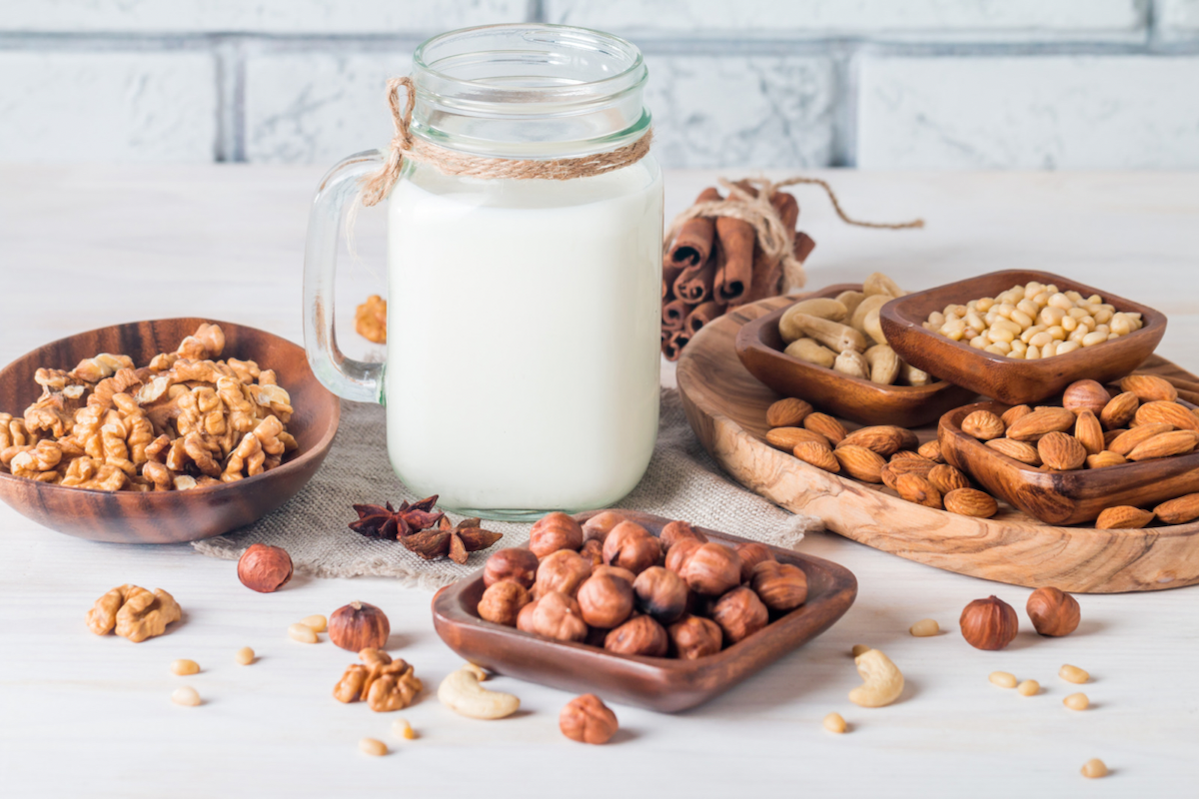
Choosing your “flavor”… I’ve made Almond, Macadamia Nut, Brazil Nut, Cashew, Hazelnut and Walnut milks. I actually do not care for Hazelnuts eaten on their own yet it is my favorite nut milk to drink!
Sweetness… you’ll notice the sweetener options below. I personally like it plain, as-is without sweetener. This would be best for Keto Diet or modified Ketogenic Diet/ Keto Nutrition. This is a very personal thing so with a small batch I’d recommend starting with 1, maybe 2 tbsp. of the options listed and go from there. Stevia should also be added on a “taste test” basis as they tend to have different sweetness strengths as well as after tastes. Vanilla bean (or vanilla extract) can be added as well for amazing flavor.
Special Treat… anyone for “chocolate milk?!” Try adding Raw Organic Cacao powder as well. This should be unsweetened so take that into consideration when balancing the correct amount of sweetener for your taste buds.
Ingredients & Equipment:
1 or 2 cups of Raw Nuts
2 or 4 cups Filtered Water
3 or 6 cups Filtered Water
**This is not a mistake… you’ll need some water for soaking and then some water when blending the nuts.
High Speed Blender
Nut Milk Bag
Open Top Pitcher
Mason / Ball Jar(s) or Storage Pitcher with Pourable & Sealable Lid
Optionals!!
Organic Vanilla Bean
Raw Cacao Powder
Sweeteners to Choose From:
Stevia
Swerve – Erythritol
2-4 Pitted Dates
Maple Syrup
Organic Coconut Nectar
Organic Coconut Sugar
Notes & Directions:
Size of batch is determined by quantity of nuts used. 1 cup raw nuts yields about 3 – 3 ½ cups of milk and 2 cups raw nuts yields about 6 ½ to 7 ½ cups of milk.
Storage: Always keep in the fridge. I prefer to store the milk in Mason or Ball jars however, you can get some type of plastic-pitcher container with a pourable and sealable lid.
Soaking: In a glass container with a lid, add choice amount of nuts. Then add 2 cups filtered water for small batch or 3 cups for larger batch. The idea is that you want to cover the nuts well because when they’re soaking, they will absorb some of the water and you still want them submerged. Soak for 12 hours or overnight.
Spill out “soak” water and do one rinse. (Always using Filtered Water.)
Soaking nuts provides an extra nutritional benefit of reducing Phytic Acid which inhibits our absorption of calcium and other minerals!
Blending: Measure 3 or 6 cups of Filtered Water into your blender. Add your choice amount of 1 or 2 cups of raw nuts respectively.
Blend on high for 2 minutes. Possibly longer depending on the type of blender you have. If you need to blend for longer than 2 or 2 ½ minutes, be sure that the temperature of the liquid does not get hot as the blender motor will sometimes heat up the mixture causing denaturing of nutrients and natural enzymes.
Option: if you’re going to add sweetener or date(s) or vanilla bean or cacao do this now. Add in increments and taste test to your liking. Note that when the milk chills in the fridge, all of the flavors will meld together nicely so don’t make it overly sweet at first because after a few hours it may end up to be too sweet.
You now should have your Open Top Pitcher, Nut Milk Bag and blended nut mixture. In small amounts, begin to pour nut mixture into nut milk bag over Open Top Pitcher. Squeeze milk liquid out and then discard nut “pulp.” Too much in the nut milk bag turns into a bit of a mess so straining in smaller increments, maybe ¼ to ½ cup is best.
Once finished straining, pour into sealable pitcher or glass jar(s). While it is tasty “freshly squeezed,” we LOVE it ice cold so you’ll likely want to refrigerate for 2-3 hours before consuming.
Homemade Nut Milk can be consumed in various ways! …*simple* cold, just like you would a refreshing glass of regular milk, you can use as a base for smoothies or protein shakes, add to cold or hot cereals, grainless or gluten free. Nut Milk can also be used in any recipe that calls for milk, cream or even water. Sauces OR ?? Be creative!
ENJOY!!
SHARE THIS POST


YOU MIGHT BE INTERESTED IN...


Ready to ditch the diet mentality and rock your body with the confidence you’ve always dreamed of?! I can help get you there!
I’m Dani Conway! From ex-overweight-yo-yo-dieter to a pioneer and expert in the Low Carb, Keto and Carnivore space; Board Certified Functional Diagnostic Nutrition Practitioner, Functional Blood Work Specialist, Weight Loss, Hormone and Gut Health Expert…
My super power is beating the diet industry!
It’s time to stop starving and start living!